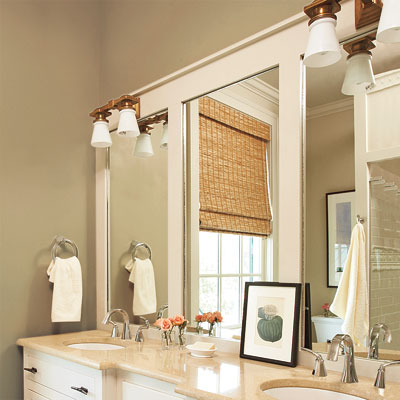
I decided ages ago — way before this bathroom makeover was even on my radar — that someday I would love to update our bathroom mirrors with wooden frames. I saw pictures like these, and just thought the look was absolutely gorgeous:
As luck would have it, our mirror upstairs was a sheet mirror that had some funky discoloration around the bottom edge, and ugly bracket thingies holding it up. So when I had the whole master bath torn up, I thought hey, what's just one more project?
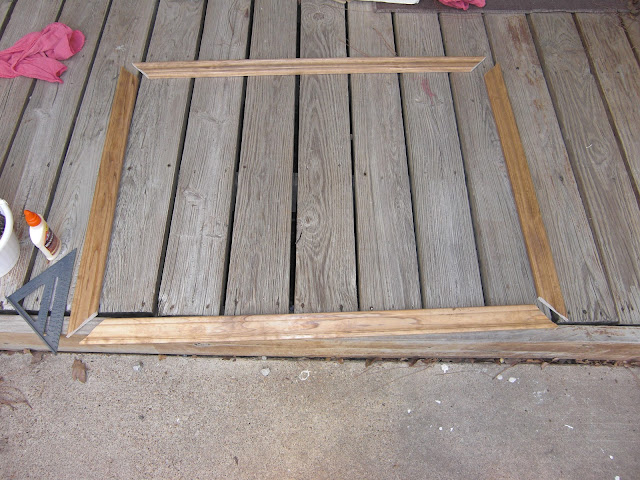
Because of how close our light fixture is to the wall, I knew I didn't have a lot of space for thick wood, so I bought two eight-foot, thin frame pieces and chopped them down to the proper size.
Matt helped me cut the pieces with his jigsaw, and I got to arranging them and sanding them down so they would fit together nicely.
(The angles aren't perfect, but that's okay.)
I used wood-glue to hold everything together, since I didn't know how nails would work with such thin wood pieces. I let the frame dry overnight, filled the gaps in the corners with wood filler, then gave it a few coats of the shiny polyurethane to protect it.
We cleaned the mirror and held the finished frame up to make sure it was level and in the right position, and used dry erase markers to mark where the frame should go.
Then we used some water-proof silicone to attach the frame to the mirror, held it in place for about a half an hour, and called it good. (The tube said it is tack-free after 30 minutes, and completely dry in 24 hours.)
LEARN FROM OUR MISTAKES: Put the silicone (or whatever you use to attach the wood to the glass) on the wood frame and not the glass. And make sure it's not too close to the edges of the wood. We had a little problem with the silicone smudging up and out over the edge of the frame, and it was ridiculously hard to clean off. Also, remember that anything near the interior edges on the back side of the frame will be reflected in the mirror, and you will see it forever. ALSO, when choosing your type of silicone/adhesive, look on the back to ensure it will hold to both wood and mirrors. I did my homework ahead of time, and Power Grab caulk was recommended, but when I looked on the back of the tube, it said it wasn't meant for use on mirrors. Since things always happen to fall apart on me in the middle of the night, I didn't want to risk it.
So now the bathroom is done for real. :) I'll share the final reveal next week.


Love it! Frames add so much to those standard mirrors!
ReplyDeleteThanks! I agree, I couldn't believe the difference it made!
DeleteIt looks great! I love how much of a difference a frame can make!
ReplyDeleteIsn't it fulfilling to achieve something you'd always been dreaming of? It may not be perfect, but at least you did your best. You can always create another one, some other time. I'm curious to what other changes you did to your bathroom. Hope to see your bathroom once it's all set and done.
ReplyDelete-Todd Kroll @ KrollWindow